Designing an energy efficient home in 2026 means integrating passive solar orientation, advanced insulation systems, and high-performance windows into your floor plans from the very beginning, not adding them as afterthoughts. This integrated approach typically reduces heating and cooling costs by 40 to 60 percent compared to standard construction while adding only 3 to 8 percent to initial building costs. The payback period for these design choices now averages 5 to 9 years, after which homeowners enjoy decades of lower utility bills and increased comfort.
The planning phase is where energy efficiency becomes most affordable. When you position rooms strategically, size windows appropriately, and design your home’s envelope as a complete system, you avoid the expensive retrofits that plague homes where efficiency was considered too late. A well-designed 2,000-square-foot energy efficient home can cost less to heat and cool annually than a poorly planned 1,200-square-foot conventional home.
What makes 2026 an ideal time to plan an energy efficient home is the convergence of proven design principles with accessible technology. Heat pump systems have become standard rather than exotic. Building science has established clear best practices for air sealing and moisture management. Energy modeling software helps you test design decisions before breaking ground, eliminating costly guesswork.
The process requires thinking differently about home design. You’ll prioritize building orientation over curb appeal preferences, invest in envelope performance before finishes, and understand your home as an interconnected system rather than a collection of parts. This article walks you through each phase of creating energy efficient home design plans, from site analysis and climate considerations through detailed specifications for your builder. You’ll learn which design decisions deliver the greatest energy savings per dollar spent, how to verify your plans will meet your efficiency goals, and how to avoid the common mistakes that undermine even well-intentioned projects.
Tools and Materials You’ll Need for Energy Efficient Home Planning
Before you sketch a single floor plan, gather the right planning tools to set your design up for success. These resources help you make informed decisions that prevent costly mistakes down the road.
Start with energy modeling software that predicts how your design choices will perform. BEopt (Building Energy Optimization) is a free tool from the Department of Energy that compares different efficiency strategies and their costs. SketchUp, combined with energy analysis plugins like OpenStudio, lets you visualize your design while testing its thermal performance. These tools aren’t just for professionals, they’re accessible enough for motivated homeowners to explore trade-offs between upfront costs and long-term savings.
You’ll need accurate climate data for your specific location. The National Oceanic and Atmospheric Administration (NOAA) provides historical weather data, while the Department of Energy’s climate zone maps show which insulation levels and window specifications make sense for your area. Local utility companies often share heating and cooling degree day information that helps size systems appropriately.
Gather your local building code documentation early. Most jurisdictions now post their adopted energy codes online, typically based on the 2026 International Energy Conservation Code (IECC) or state-specific standards. Understanding these requirements prevents redesigns later and ensures your plans will pass inspection.
For site analysis, simple tools make a big difference:
- Compass or smartphone compass app to identify true south and optimal solar orientation
- Sun position tracking apps (like Sun Seeker or SunCalc) that show solar paths throughout the year
- Measuring tape and site survey tools to map existing features, slopes, and setback requirements
- Financial planning calculators that compare lifecycle costs of different efficiency measures
- Spreadsheet templates for tracking material costs, incentives, and projected energy savings
While many planning tasks work as DIY projects, recognize when to bring in professionals. Licensed architects translate your efficiency goals into buildable plans that meet structural and code requirements. Energy consultants or HERS raters can run detailed models and recommend the most cost-effective improvements for your budget. Their fees, typically a few thousand dollars, are investments that often identify savings worth tens of thousands over the home’s lifetime.
Think of these upfront planning costs as insurance against expensive mid-construction changes or a home that underperforms its potential.
Safety and Code Considerations Before You Start
Before you sketch a single floor plan, you’ll need to navigate the regulatory landscape that governs home construction and energy performance. This isn’t bureaucratic red tape, it’s a framework that ensures your home is safe, structurally sound, and increasingly, energy efficient by default.
Start by researching your local building department’s requirements. The 2026 updates to IECC and state requirements have raised the baseline for energy performance, making features like improved insulation and air sealing mandatory rather than optional in many jurisdictions. Some states exceed these federal minimums with their own codes. Your county or municipal building department can clarify which standards apply to your specific location and what documentation you’ll need for permit approval.
Understanding why energy code compliance matters goes beyond avoiding permit delays. These codes protect your investment by ensuring designs meet fire safety standards, structural integrity requirements, and moisture management protocols. A well-insulated wall that traps moisture becomes a liability, not an asset. Codes address these interactions.
Certain elements require licensed professionals regardless of your DIY skills. Electrical system design, structural modifications, and HVAC sizing must be reviewed or performed by licensed contractors and engineers in most jurisdictions. Their stamps aren’t just formalities, they carry liability and ensure critical systems meet safety standards. An improperly sized electrical panel can create fire hazards, while structural errors in supporting solar panels or heavy insulation can compromise your home’s integrity.
Plan for inspections at multiple stages: foundation, framing, insulation, and final. These checkpoints verify compliance and catch problems when they’re still fixable. Passing code isn’t the ceiling for performance, it’s the floor. You can exceed requirements, but you can’t skip them.
Step-by-Step Process for Designing Your Energy Efficient Home
Step 1: Analyze Your Site and Optimize Orientation
Your lot is your home’s first and most permanent energy feature. Before drawing a single floor plan, spend time understanding how sun, wind, and landscape interact with your specific site, decisions made here cost nothing but influence energy performance for decades.
Start by tracking the sun’s path across your property. Visit at different times of day, ideally across multiple seasons if your timeline allows. In the Northern Hemisphere, southern exposure delivers the most consistent solar energy year-round. Use a compass app or physical compass to identify true south (not magnetic south, there’s a difference depending on your location). Mark where shadows fall at 9 AM, noon, and 3 PM. Notice how the sun angle changes: winter sun sits lower on the horizon and can penetrate deep into south-facing rooms, while summer sun arcs high overhead.
Next, observe wind patterns. Check local weather data for prevailing wind directions in your area, these typically come from consistent compass points depending on geography. Walk your site on breezy days and note where you feel wind funneling between structures or blocked by terrain. Cold winter winds often come from the north and northwest, while cooling summer breezes may arrive from different directions. Your home’s orientation should shelter living spaces from harsh winds while capturing beneficial ones.
Document existing features that affect energy performance:
- Map all existing trees, noting their species, size, and whether they’re deciduous or evergreen, deciduous trees south of the home provide summer shade but allow winter sun after leaves drop
- Measure distances to neighboring buildings that might cast shadows or block breezes, especially structures to your south
- Identify topography features like slopes, hills, or berms that create microclimates or affect drainage
- Note any views you want to preserve, as these will influence window placement alongside energy considerations
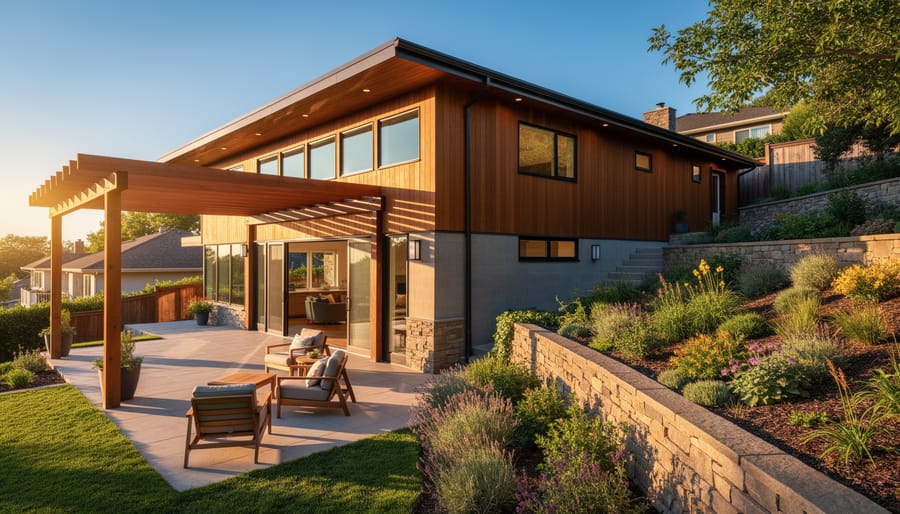
The ideal orientation places the long axis of your home along the east-west line, with the majority of windows facing south. This maximizes winter solar heat gain when you need it. Plan for 60-70% of your total window area on the south side, 20-30% on north and east, and minimal west-facing glass, which captures intense afternoon summer sun that’s hardest to control.
If your lot makes perfect south orientation impossible, don’t abandon the principle, within 15 degrees of true south still captures about 90% of optimal solar gain. Work with what you have, adjusting window sizes and overhangs to compensate. A south-southeast orientation, for example, might mean slightly smaller west windows to offset afternoon heat.
Step 2: Design a High-Performance Building Envelope
The building envelope, your home’s shell, determines how much energy you’ll need to stay comfortable. A high-performance envelope keeps conditioned air in and weather out, which directly translates to smaller, less expensive HVAC systems and lower monthly bills.
Start with understanding R-values for your climate zone. R-value measures insulation’s resistance to heat flow, and higher numbers mean better performance. For 2026, recommended minimums have increased: walls should reach R-20 to R-30 depending on your region, attics R-49 to R-60, and foundations R-15 to R-25. Cold climates demand the higher end of these ranges. Your local building code specifies minimums, but exceeding them often pays back through reduced energy costs within a few years.
Addressing walls, roof, and foundation as an integrated system matters more than maxing out any single area. For walls, you have several cost-effective paths. Fiberglass batts ($0.50-$1.00 per square foot) remain the most budget-friendly and work well when installed carefully without gaps. Dense-pack cellulose ($1.00-$1.50 per square foot) fills cavities completely and handles irregular spaces better. Spray foam ($2.00-$3.50 per square foot) costs more but delivers superior air sealing and higher R-value per inch. Rigid foam boards on exterior sheathing add continuous insulation without eating interior space.
For most homes, combining standard cavity insulation with a layer of continuous exterior insulation gives you the best performance-to-cost ratio. This approach eliminates thermal bridges, the weak spots where studs, joists, and other framing members conduct heat through your walls. Wood studs create paths for heat loss that can reduce your wall’s effective R-value by 20-30%, which is why that continuous layer outside the framing makes such a difference.
The roof demands your highest R-values since heat rises. Blown cellulose or fiberglass in attics provides affordable depth, while spray foam makes sense for cathedral ceilings where space is limited. Foundation insulation, often overlooked, prevents significant heat loss through concrete. Rigid foam boards on exterior foundation walls or under slabs stop this drain.
Air sealing rivals insulation in importance. The tightest insulation performs poorly if air leaks around it. Seal obvious gaps first: where walls meet foundations, around windows and doors, at plumbing and electrical penetrations, and where walls meet the roof. Use caulk for small cracks and spray foam for larger gaps. Pay special attention to the attic, unsealed recessed lights, plumbing vents, and attic hatches are major leak points.
Schedule a blower door test during construction to verify your air sealing work. This diagnostic pressurizes your home and measures air changes per hour (ACH). Aim for 3 ACH50 or less (the “50” means 50 pascals of pressure difference). Many 2026 codes require testing, and it’s the only way to confirm your envelope performs as designed rather than discovering problems after drywall goes up.
Moisture management completes your envelope strategy. Install vapor barriers on the warm side of insulation in cold climates, but use vapor-permeable materials in mixed or hot-humid zones. Proper flashing around windows and continuous drainage planes in your wall assembly prevent water intrusion that degrades insulation and causes structural damage.

Step 3: Select High-Efficiency Windows and Doors
Windows and doors represent 25-30% of a home’s heating and cooling loss, making them critical to your energy efficiency strategy. Start by understanding two key performance metrics: U-factor measures how well a product prevents heat from escaping (lower is better, aim for 0.30 or below), while Solar Heat Gain Coefficient (SHGC) indicates how much solar radiation passes through (lower blocks more heat, which matters in hot climates). ENERGY STAR criteria for 2026 vary by climate zone, northern homes benefit from higher SHGC to capture winter warmth, while southern homes need lower SHGC to reduce cooling loads.
Double-pane windows with low-E coatings and argon gas fills deliver excellent performance for most climates at reasonable cost, typically adding $40-60 per window compared to standard units. Triple-pane windows offer superior insulation (U-factors as low as 0.15-0.20) but cost 15-25% more than double-pane. The investment makes sense in extreme climates, for north-facing windows, or if you’re targeting Passive House standards. Otherwise, prioritize double-pane across most of the home and upgrade strategically.
Frame materials significantly impact performance. Vinyl and fiberglass frames provide the best thermal resistance at affordable prices. Wood offers excellent insulation but requires maintenance. Aluminum frames conduct heat readily unless they include thermal breaks, avoid standard aluminum in climate extremes. Composite frames blend durability with good thermal performance but cost more.
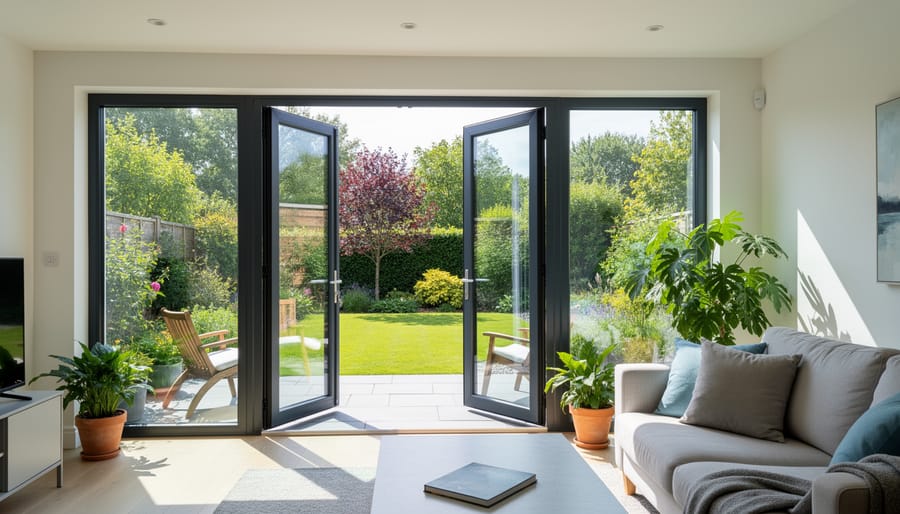
Coordinate window placement with your Step 1 orientation strategy. Place larger windows on south-facing walls to maximize passive solar gain, specify high-performance units on north exposures where heat loss is greatest, and use appropriately-sized east and west windows to balance morning light against afternoon heat. For doors, insulated steel or fiberglass models with foam cores achieve R-values of 10-15, compared to 2-3 for solid wood. Prioritize proper installation over premium products, even the best window fails if gaps allow air leakage. Budget for professional installation or meticulous DIY air sealing around all rough openings.
Step 4: Plan Efficient Heating, Cooling, and Ventilation Systems
Your improved building envelope dramatically changes HVAC requirements. A well-insulated, air-sealed home needs 30-50% less heating and cooling capacity than a code-minimum house of the same size, which means you can install smaller, less expensive equipment that costs less to operate. This is where your investment in envelope performance pays immediate dividends.
Start with a professional load calculation using Manual J methodology, not rules of thumb like “one ton per 500 square feet.” That outdated approach leads to oversized systems that short-cycle, fail to dehumidify properly, and waste energy. A load calculation factors in your specific insulation levels, window performance, air tightness, and orientation from the previous steps. In a high-performance home, the results often surprise contractors accustomed to conventional construction.
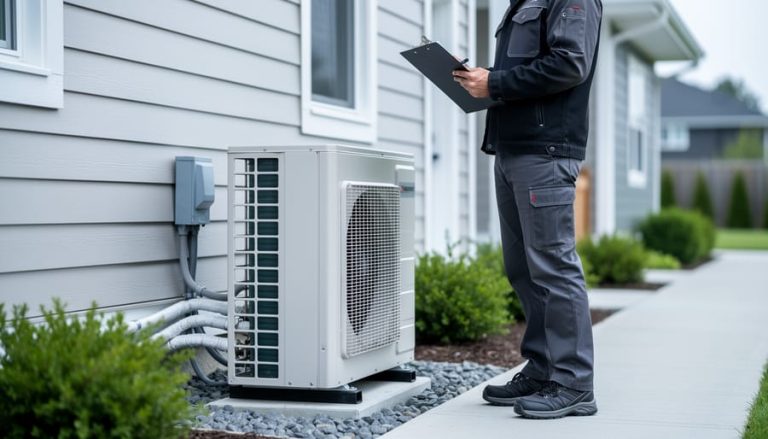
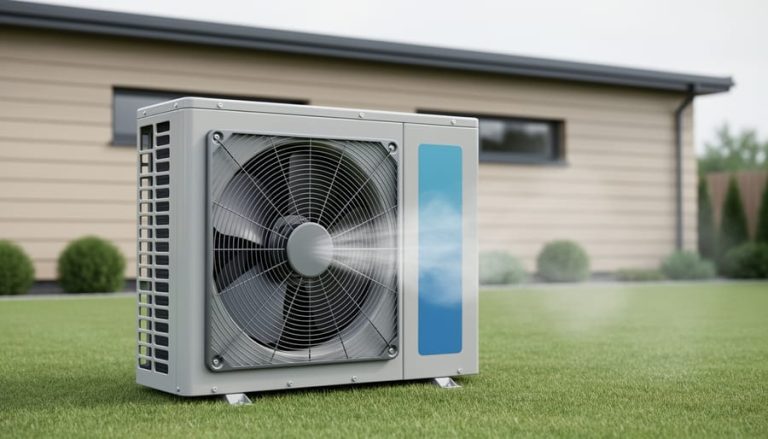
When selecting systems for 2026, heat pumps have become the default choice for most climates. Modern cold-climate heat pumps maintain efficiency down to -15°F and lower, making them viable even in northern regions. They provide both heating and cooling in one system, eliminate combustion safety concerns, and align with grid decarbonization trends as electricity becomes cleaner. Look for units with variable-speed compressors that modulate output to match loads precisely rather than cycling on and off. SEER2 ratings above 16 and HSPF2 ratings above 9 indicate strong performance under 2026 testing standards.
Right-sizing your HVAC system requires attention to several critical factors:
- Actual load calculation results from Manual J, not contractor estimates or “what we usually install”
- Your home’s improved infiltration rate from air sealing, which significantly reduces heating and cooling needs
- Window performance and solar heat gain that your design already optimizes
- Distribution system efficiency, since well-designed ductwork allows smaller equipment to perform effectively
- Climate-specific considerations like humidity control needs or extreme temperature events
For regions with extremely cold winters or high heating costs, hybrid systems combine a heat pump with a backup furnace that kicks in only during peak demand periods. This approach captures heat pump efficiency for most of the year while ensuring comfort during temperature extremes.
Your tight, efficient envelope requires mechanical ventilation to maintain indoor air quality. Energy recovery ventilators (ERVs) and heat recovery ventilators (HRVs) bring in fresh outdoor air while transferring heat and, in ERVs, moisture between outgoing and incoming air streams. This prevents the energy penalty of simply exhausting conditioned air. Choose units with heat recovery efficiency above 70% and low fan power consumption. Size ventilation to ASHRAE 62.2 standards, typically 50-100 CFM for most homes.
Ductwork design matters as much as equipment selection. Keep ducts within conditioned space whenever possible, in dropped ceilings or buried in attic insulation rather than in unconditioned attics or crawlspaces where they can lose 25-40% of energy. Seal all joints with mastic, not cloth tape, and insulate ducts to at least R-8. Short, direct duct runs with minimal turns reduce fan energy and improve comfort.
Don’t overlook water heating in your energy planning. Heat pump water heaters use one-third the energy of standard electric models and work well in conditioned spaces where they provide minor cooling and dehumidification as a bonus. For homes with solar panels, electric heat pump water heaters make sense. In homes with natural gas, condensing tankless or high-efficiency storage units (0.67 UEF or higher) offer good performance. Consider locating the water heater centrally to minimize pipe runs and heat loss.
Step 5: Integrate Renewable Energy and Smart Systems
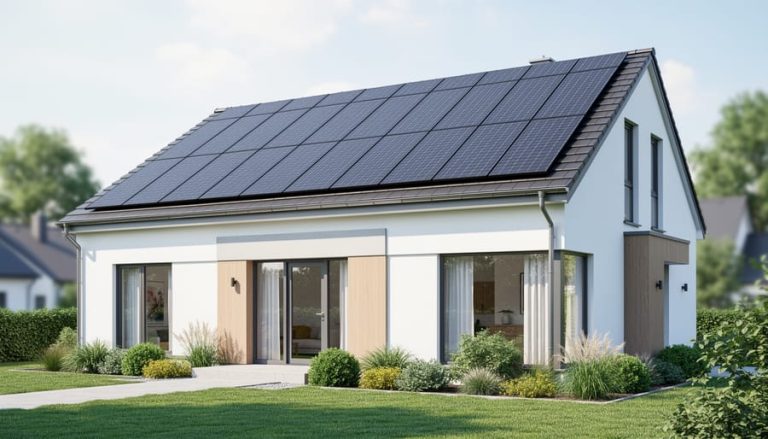
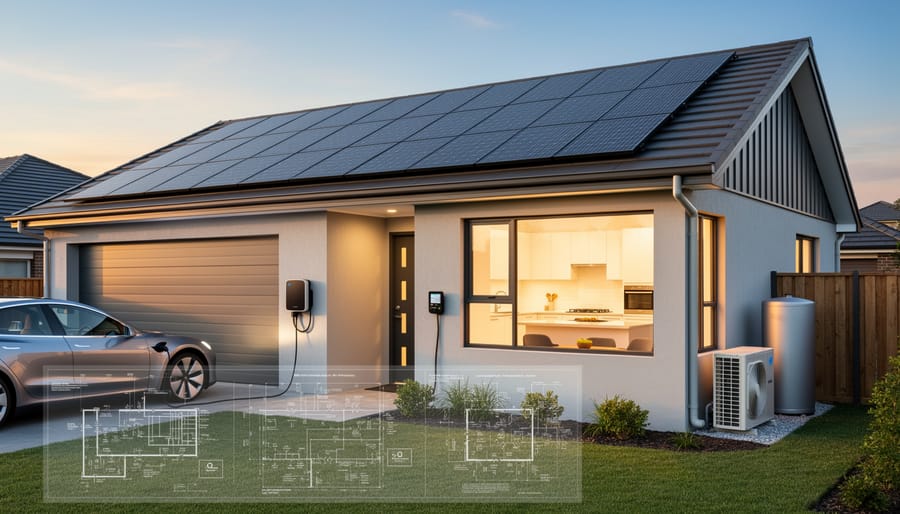
Planning for renewable energy during design costs far less than retrofitting later. Start by evaluating your roof geometry and orientation. South-facing roof surfaces (in the Northern Hemisphere) with slopes between 15 and 40 degrees optimize solar panel performance, though east-west orientations can work with modern panels. Calculate available roof area, accounting for vents, chimneys, and necessary setbacks. Your structural plans should specify rafter sizing that accommodates the added weight of solar arrays, typically 2-4 pounds per square foot. Verify that roof materials will last as long as the solar panels (25-30 years) to avoid costly removal and reinstallation.
Electrical infrastructure requires the most planning. Your main service panel needs capacity for solar inverter connections, battery storage, and EV charging circuits. Most energy efficient homes need 200-amp service minimum, with many designers now recommending 400-amp panels to accommodate future electrification. Position the panel on an exterior wall near where you’ll mount the inverter, minimizing wire runs and voltage drop. Include conduit runs from the roof to the electrical room during construction, even if you’re not installing panels immediately. This simple step saves thousands in retrofit costs.
Battery storage has become increasingly practical in 2026, with costs dropping below $700 per kilowatt-hour for quality systems. Include a dedicated space for batteries in your garage or utility room, with proper ventilation and temperature control (batteries perform best between 50-80°F). Plan for both grid-tied and backup circuits, so your battery can power critical loads during outages while feeding excess energy back to the grid during normal operation.
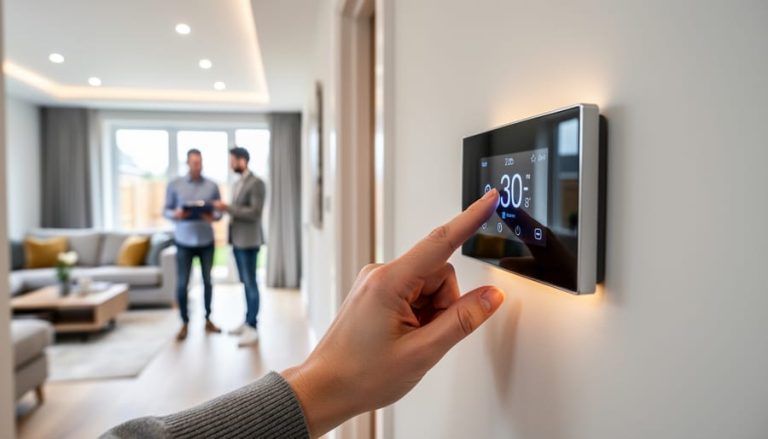
Smart home systems maximize the efficiency you’ve built into the previous steps. Install a smart thermostat that learns your schedule and adjusts temperatures based on occupancy and electricity pricing (time-of-use rates reward shifting consumption to off-peak hours). Whole-home energy monitoring systems show real-time consumption by circuit, helping you identify and eliminate energy waste. Automated window shading controlled by sun position and indoor temperature reduces cooling loads by 20-30% while preserving views and natural light.
For water heating, solar thermal systems can provide 50-80% of your hot water needs in most climates, with electric heat pump water heaters covering the balance. This combination eliminates gas connections entirely, simplifying your utility infrastructure. If going all-electric, ensure your electrical design accounts for the 30-amp circuit heat pump water heaters require.
The key insight: renewable energy systems deliver the best return when your home needs less energy to begin with. A well-insulated, air-sealed home with efficient systems might need a 6-kilowatt solar array where a conventional home would need 10 kilowatts. You’re generating the same percentage of your needs at 60% of the installation cost.
Verification: How to Ensure Your Design Meets Energy Efficiency Goals
Before breaking ground, you need concrete proof your design will deliver the efficiency you’ve planned for. Energy modeling software translates your design choices into predicted annual energy consumption and costs. Tools like BEopt, REM/Rate, or WUFI simulate how your home will perform hour by hour throughout the year, accounting for your climate, envelope specifications, HVAC selections, and occupancy patterns. A good energy model shows where you’re spending energy dollars and which design modifications offer the best return. Run multiple scenarios to test “what if” questions, what happens if you upgrade from double to triple-pane windows, or add another two inches of roof insulation?
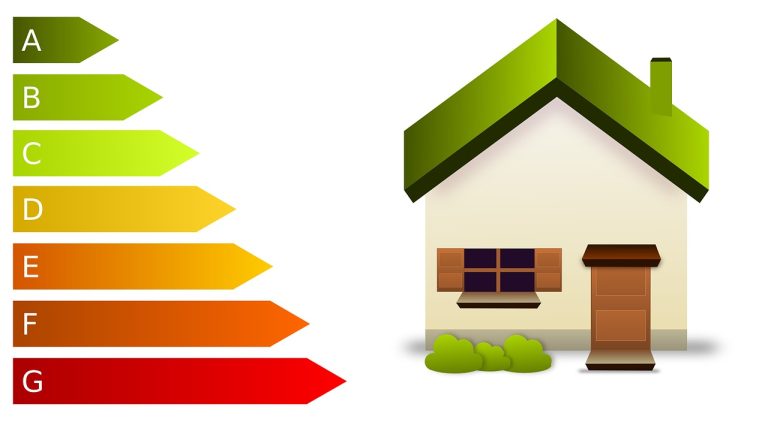
The Home Energy Rating System (HERS) Index provides a standardized measure of your home’s energy performance. A HERS score of 100 represents a standard new home built to 2006 code, while lower numbers mean greater efficiency. In 2026, a newly built home should target a HERS Index of 50 or lower to be considered high-performing, with net-zero homes scoring 0 or below. Getting a projected HERS rating during design reveals whether your specifications meet efficiency goals before you’ve spent construction dollars.
Third-party certification programs add credibility and often unlock financial benefits. ENERGY STAR Certified Homes requires independent verification and delivers about 10% energy savings over standard code. Passive House certification sets rigorous performance standards with annual heating demand under 15 kWh per square meter. LEED for Homes awards points across sustainability categories. DOE Zero Energy Ready Home certification ensures your home produces as much energy as it consumes annually. Each program requires documentation and testing, but certification increases resale value and qualifies for specific rebates or green mortgages.
Performance testing during and after construction catches problems early. Blower door testing measures actual air leakage, aim for 3 air changes per hour at 50 Pascals (ACH50) or less, with high-performance homes achieving 1.5 ACH50. Thermal imaging identifies insulation gaps and thermal bridges invisible to the eye. Duct leakage testing ensures your HVAC system isn’t losing conditioned air to unconditioned spaces. System commissioning verifies that mechanical equipment operates as designed, not just as installed.
Testing isn’t optional if you want your built home to match your designed home. The performance gap between modeled and actual energy use averages 30% in unverified homes, erasing anticipated savings and undermining your investment in efficiency.
Cost Management: Making Energy Efficiency Affordable
Smart cost management turns energy efficiency from an expensive aspiration into an affordable reality. The key is understanding which improvements deliver the greatest impact per dollar spent, then building your design around those priorities rather than trying to implement every possible measure at once.
Start with the measures that must happen during construction because retrofitting them later multiplies costs exponentially. Your building envelope, insulation, air sealing, and window placement, falls into this category. Adding insulation to walls after construction can cost three to five times more than incorporating it during framing. Similarly, proper solar orientation costs nothing beyond thoughtful planning but cannot be changed once the foundation is poured. Focus your initial budget here, where the decisions are permanent and the savings compound over decades.
Structure your plan in phases based on budget constraints. Phase one should include the permanent elements: envelope improvements, right-sized HVAC systems, and efficient water heating. These typically add 5-10% to construction costs but reduce operating expenses by 30-50%. Phase two can address renewable energy like solar panels, which you can add anytime if you’ve designed the roof structure and electrical panel to accommodate them. This approach lets you spread costs across several years while still achieving significant efficiency gains immediately.
Take advantage of 2026 financial incentives that dramatically improve affordability. Federal tax credits now cover up to 30% of costs for heat pumps, solar installations, and energy-efficient windows. Many states offer additional rebates, with some programs providing $4,000-$8,000 for comprehensive efficiency packages. Check the Database of State Incentives for Renewables and Efficiency (DSIRE) for your location’s current offerings. Utility companies often provide free energy audits and rebates for specific improvements.
Consider an energy-efficient mortgage, which allows you to qualify for a larger loan amount based on projected energy savings. The logic is simple: lower utility bills mean you can afford higher mortgage payments. Some lenders increase qualifying income by up to $1 for every $1 in projected monthly energy savings.
Real numbers help clarify the investment. Air sealing typically costs $1,500-$3,000 and pays back in three to five years. Upgrading to ENERGY STAR windows adds $3,000-$6,000 over standard windows but saves $150-$400 annually. A high-efficiency heat pump might cost $8,000-$12,000 installed but reduces heating and cooling costs by $600-$1,200 yearly compared to conventional systems. When you factor in lower maintenance costs and longer equipment life, the total cost of ownership often favors efficiency even before considering environmental benefits.
The most affordable energy efficient home design is not the one with the most expensive materials but the one with the smartest integrated planning. A well-designed $250,000 home with thoughtful orientation, proper insulation, and right-sized systems will outperform and cost less to operate than a $350,000 home with premium finishes but poor energy fundamentals.
Common Questions About Energy Efficient Home Design
Planning an energy efficient home raises practical questions about costs, feasibility, and implementation. Here are answers to the concerns most commonly voiced by homeowners during the design process.
How much more does an energy efficient home cost to build?
Upfront costs typically run 2-8% higher than standard construction, but this varies dramatically based on your choices and climate. Focus on the building envelope first, which delivers the best return, and many efficiency measures actually reduce costs by allowing smaller HVAC systems.
Can I retrofit these principles into an existing home?
Absolutely, though some measures work better during new construction. Air sealing, insulation upgrades, window replacements, and HVAC system improvements can all be done in existing homes, with attic and basement insulation often providing the quickest payback.
What single thing should I prioritize if my budget is limited?
Air sealing and insulation in the building envelope deliver the most impact per dollar spent. A well-sealed, well-insulated home reduces energy needs regardless of your other equipment choices and makes every subsequent upgrade more effective.
How do I find qualified professionals for energy efficient design?
Look for architects and builders with certifications like LEED AP, Certified Passive House Consultant, or those participating in programs like ENERGY STAR Certified Homes. Your local utility or state energy office often maintains lists of qualified contractors and may offer co-op programs with pre-vetted professionals.
Maintenance concerns often come up, but energy efficient homes typically require no more upkeep than conventional ones. High-performance windows need the same cleaning as standard windows. Heat pumps need filter changes like any HVAC system. The main difference is that efficient homes often have better ventilation systems that do require periodic filter replacement, usually every three to six months depending on your model.
The timeline for seeing savings depends on which measures you implement and your local energy costs. Homes built with integrated efficiency from the start typically show 30-50% lower utility bills immediately compared to code-minimum construction. The monthly savings begin with your first energy bill, though the payback period for your upfront investment ranges from immediate for some envelope measures to 5-15 years for solar panels, depending on incentives and electricity rates.
Many homeowners ask what they can handle themselves versus when to hire professionals. The planning and design phase is largely DIY-friendly using the tools described earlier. You can absolutely analyze your site, create initial layouts, and run energy models yourself. However, structural design, electrical system planning, and HVAC sizing require licensed professionals both for safety and code compliance. Air sealing and insulation installation can be DIY projects if you’re handy, but achieving truly high performance often justifies hiring experienced contractors who understand building science principles.
Energy efficient home design is not about bolting expensive technology onto a conventional house. It is a systematic process where each decision builds on the last, creating a home that performs better while often costing less to build and operate than a standard design.
The five-step framework outlined here demonstrates that affordable energy efficient home design starts with fundamentals. Site orientation costs nothing but delivers heating and cooling benefits for the life of the home. A well-designed building envelope makes every subsequent system smaller, simpler, and cheaper. Windows placed strategically eliminate the need for excessive mechanical solutions. Right-sized HVAC systems cost less upfront because your home needs less conditioning. Renewable energy becomes genuinely affordable when you have reduced demand through smart design.
This integrated approach flips the conventional wisdom. Rather than viewing efficiency as premium upgrades that inflate your budget, you are making core design decisions that reduce both construction costs and decades of utility bills.
Start with what matters most: analyze your site and design a high-performance envelope. These foundations cannot be economically retrofitted later, but they make everything else work better and cost less. The environmental benefits are substantial, but the financial case stands on its own. Lower monthly operating costs, enhanced year-round comfort, and increased home value make energy efficient design one of the smartest investments you can make.
The tools and roadmap are here. Your next step is to begin planning.